3D without Blender: one prompt in Claude Design gives you a model you can spin and download
Pick the 3D object template in Claude Design, paste one prompt, and get a model you can spin 360°, switch between 3 colours and download as OBJ or GLB.
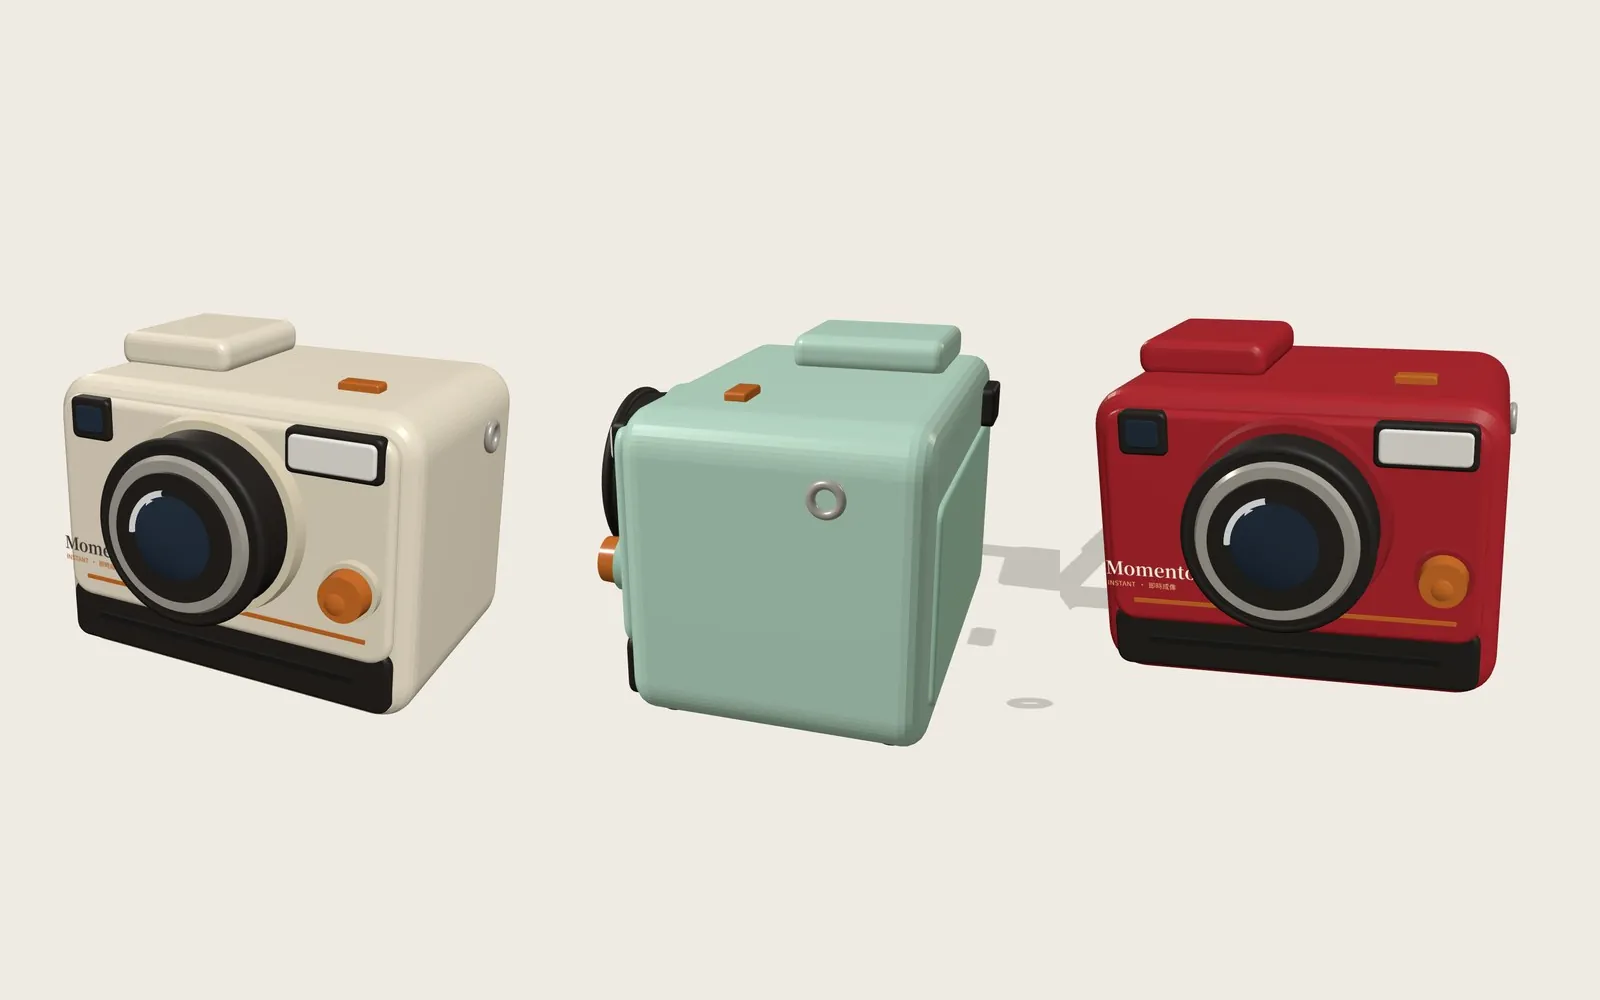
A lot of people think making 3D with AI means learning Blender first. It doesn't. In this guide we used Claude Design's 3D object template to build a retro instant camera right in the browser: drag to spin it, switch between three colours in one click, and download the model file from the corner. "Momento" on the camera is a fictional brand, and every image below is a real screen Claude Design made.
01Open Claude Design (1 minute)
- Go to claude.ai/design and sign in to your Claude account.
- When you start a new project, pick the "3D object" template.
- Paste the prompt below into the chat and send it.
Claude's official page says Claude Design is included in every plan, including the Free plan. It also says the standalone claude.ai/design site stays open until December 14, 2026, and that Claude Design now works in regular Claude conversations.
- Claude Design official page — Plans and the move from the standalone site
02Step 1: paste the prompt and spell out the shape
Your prompt only needs 4 things: what the object is, what it looks like, how people interact with it, and which files you want.
Make a 3D model of a "[object name]": [key shape details, e.g. rounded body, big lens, orange button].
Let me drag with the mouse to rotate it 360°, offer three colourways to switch between: [colour 1, colour 2, colour 3], and add buttons to download it as OBJ and GLB.
Write the interface in English.
For our camera, this is what we pasted:
Make a 3D model of a "retro instant camera": rounded body, big lens, orange shutter button, photo slot.
Let me drag with the mouse to rotate it 360°, offer three body colours: cream, mint green and cherry red, and let me download it as OBJ and GLB.
Write the interface in English.
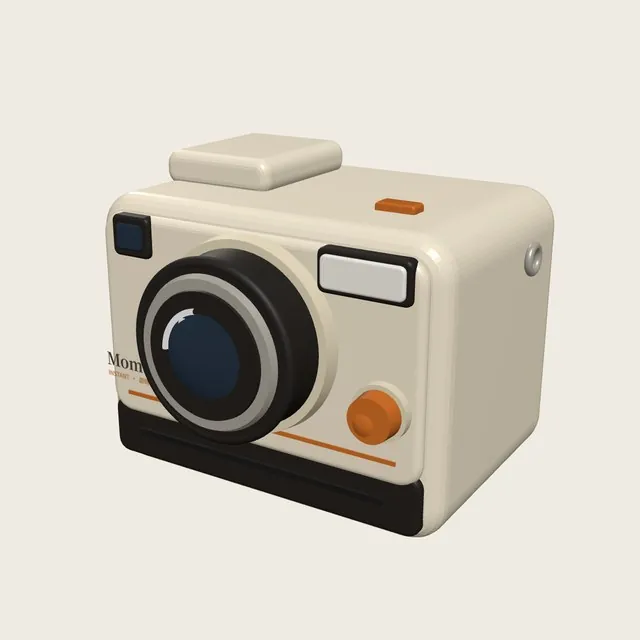
03Step 2: drag to spin it and check all 360°
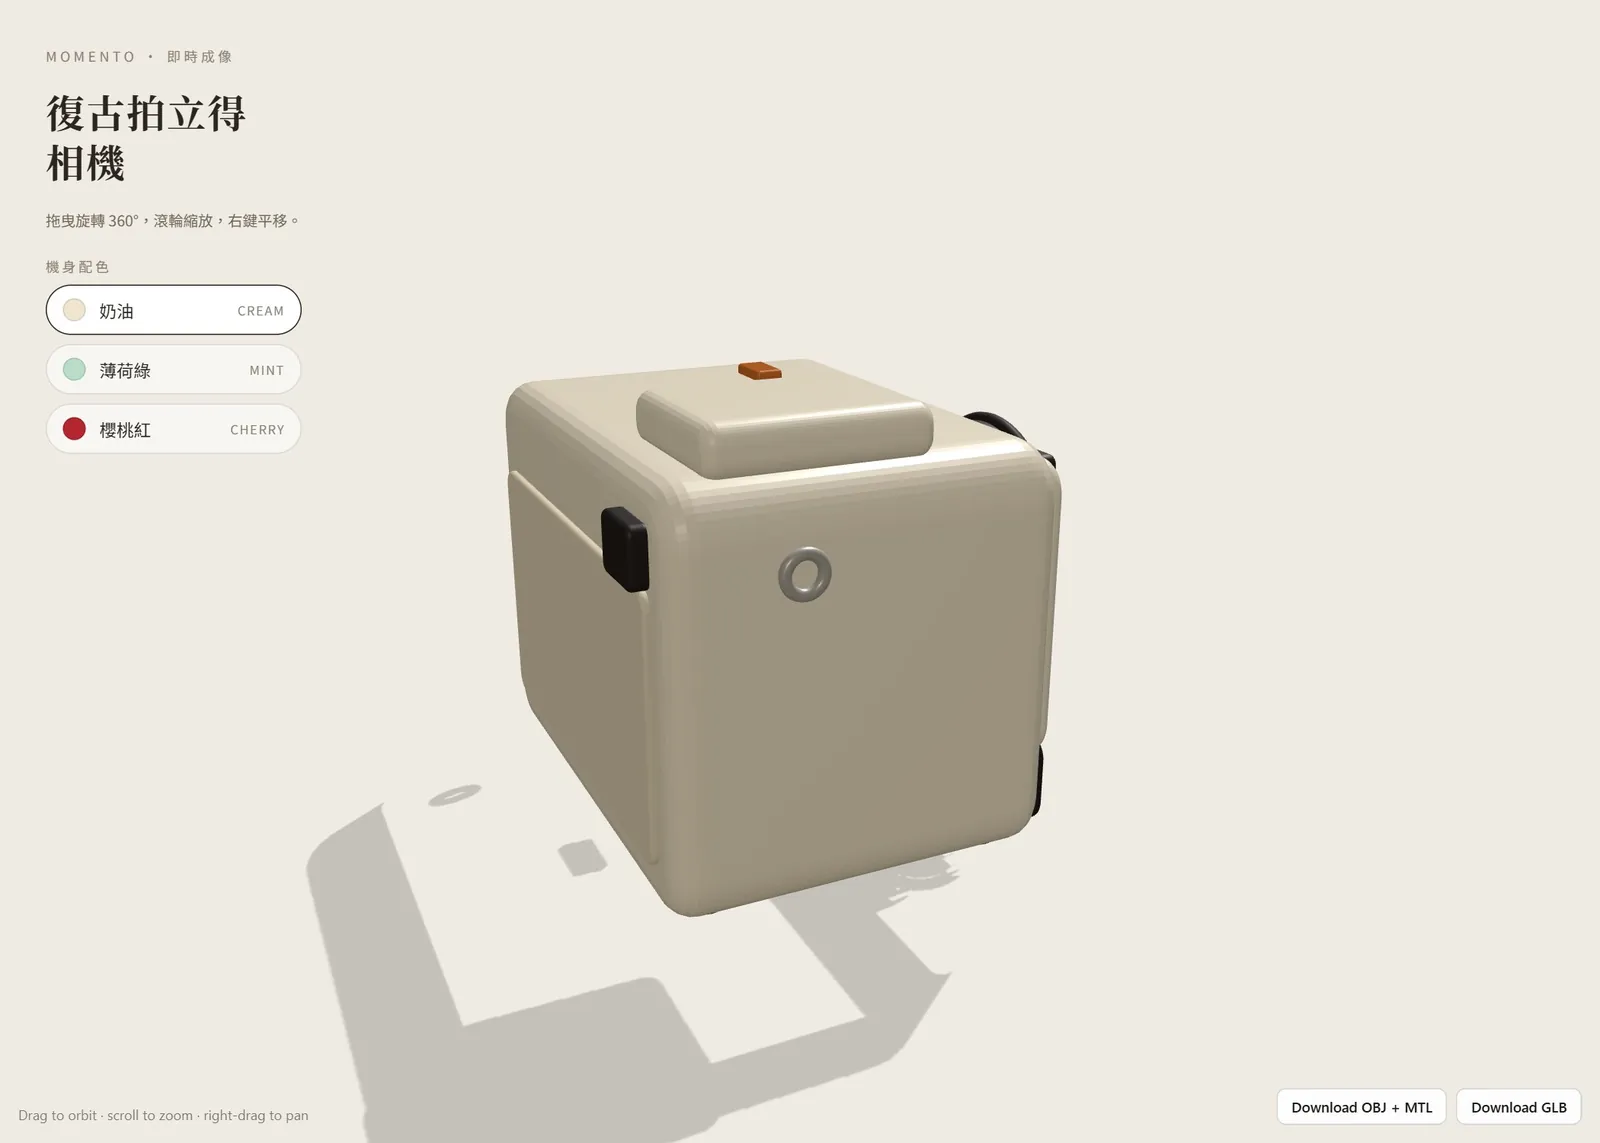
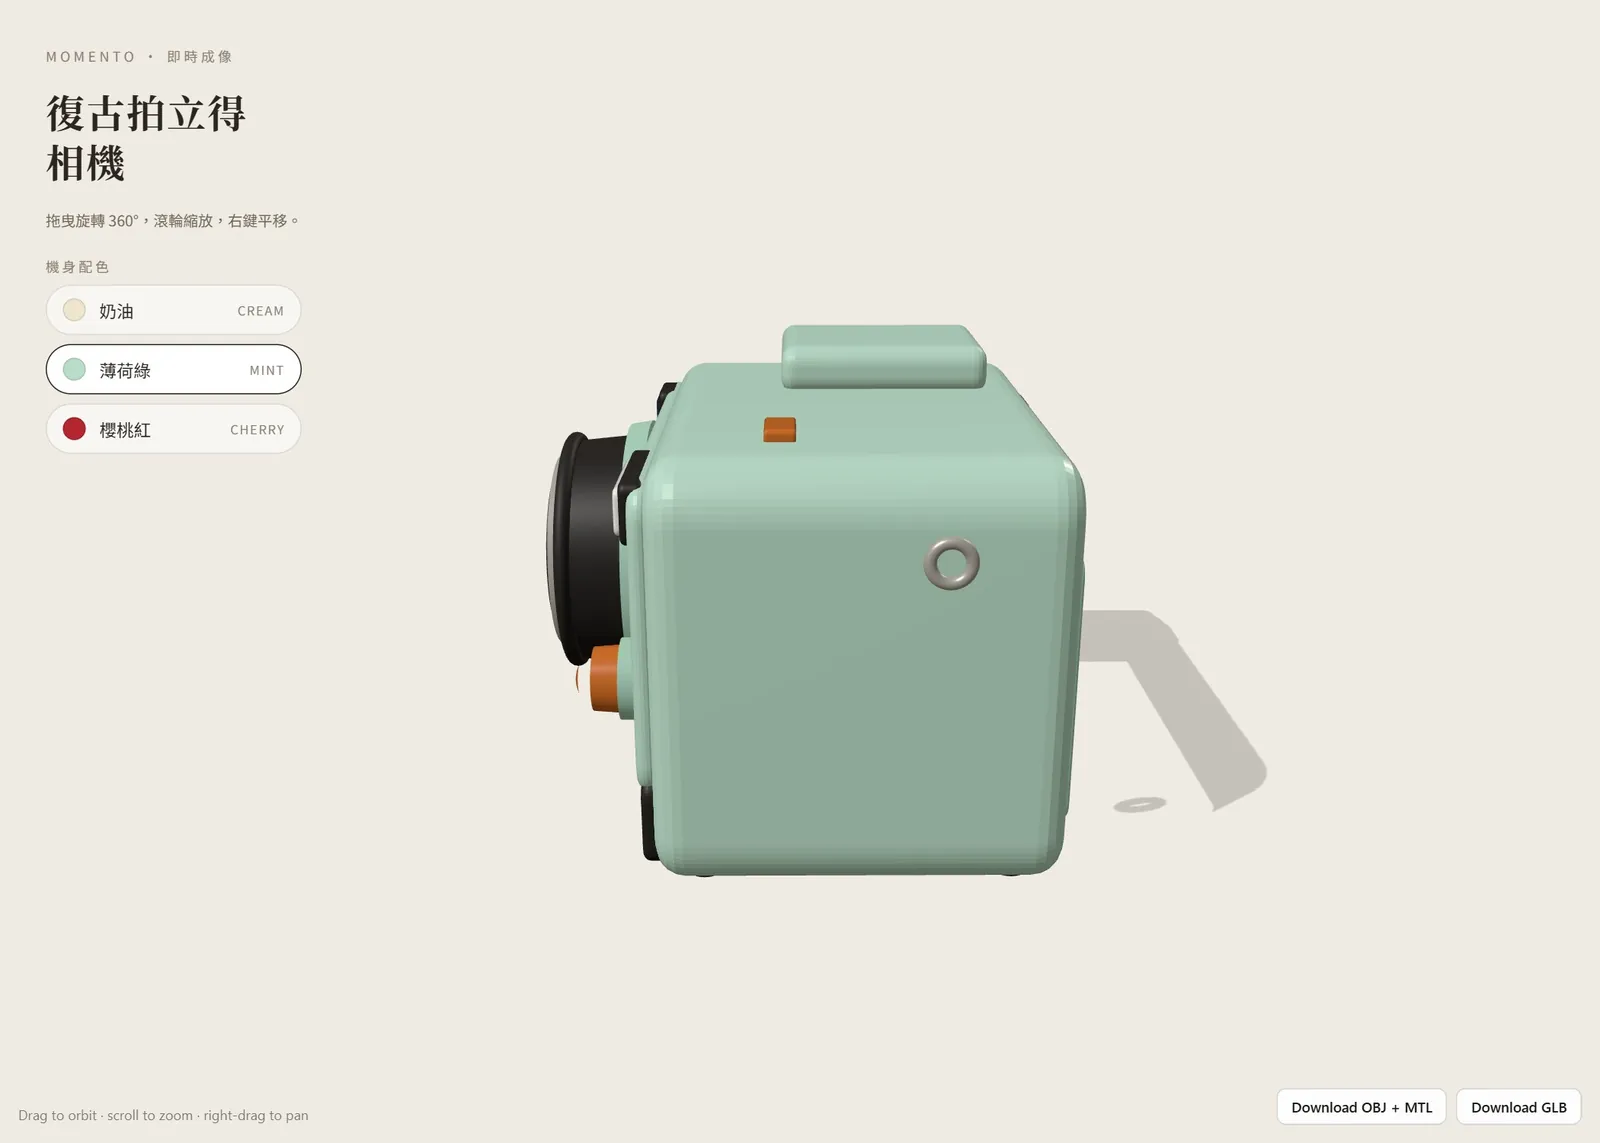
Once you send it, Claude Design builds an interactive page. It makes the camera with three.js, and the top left shows the name and the controls: drag to rotate 360°, scroll to zoom, right-drag to pan.
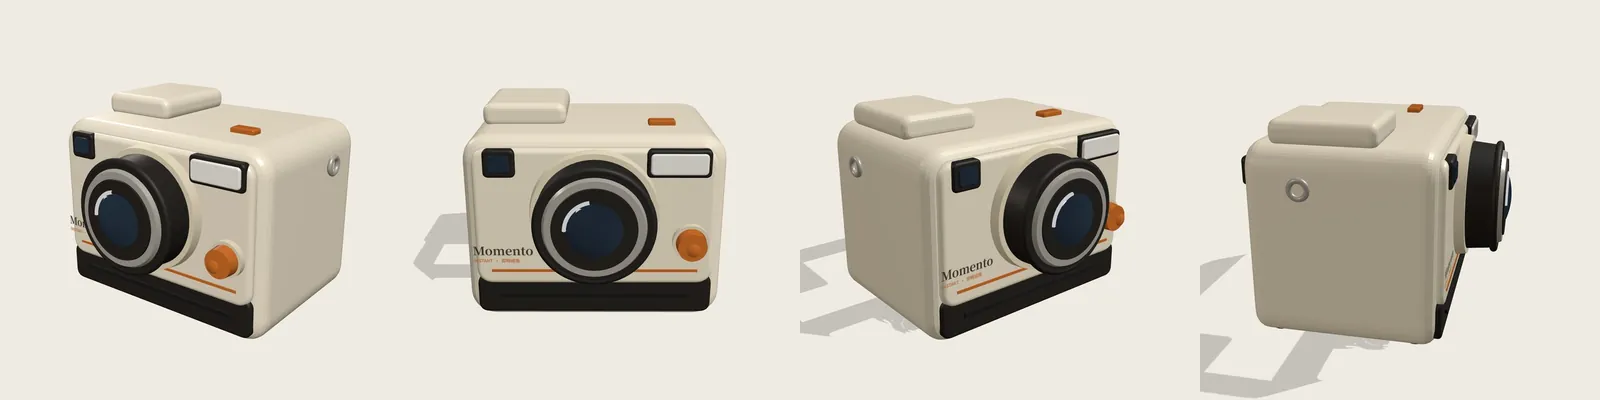
04Step 3: switch between three colours in one click
The body colour menu on the left has three buttons: cream, mint and cherry. One click recolours the whole camera, while the lens and shutter button keep their colours.
05Step 4: download OBJ or GLB and open it in other 3D apps
There are two buttons at the bottom right: "Download OBJ + MTL" and "Download GLB". The OBJ comes with an MTL file that stores the material colours; a GLB packs everything into one file, so it's easier to share.
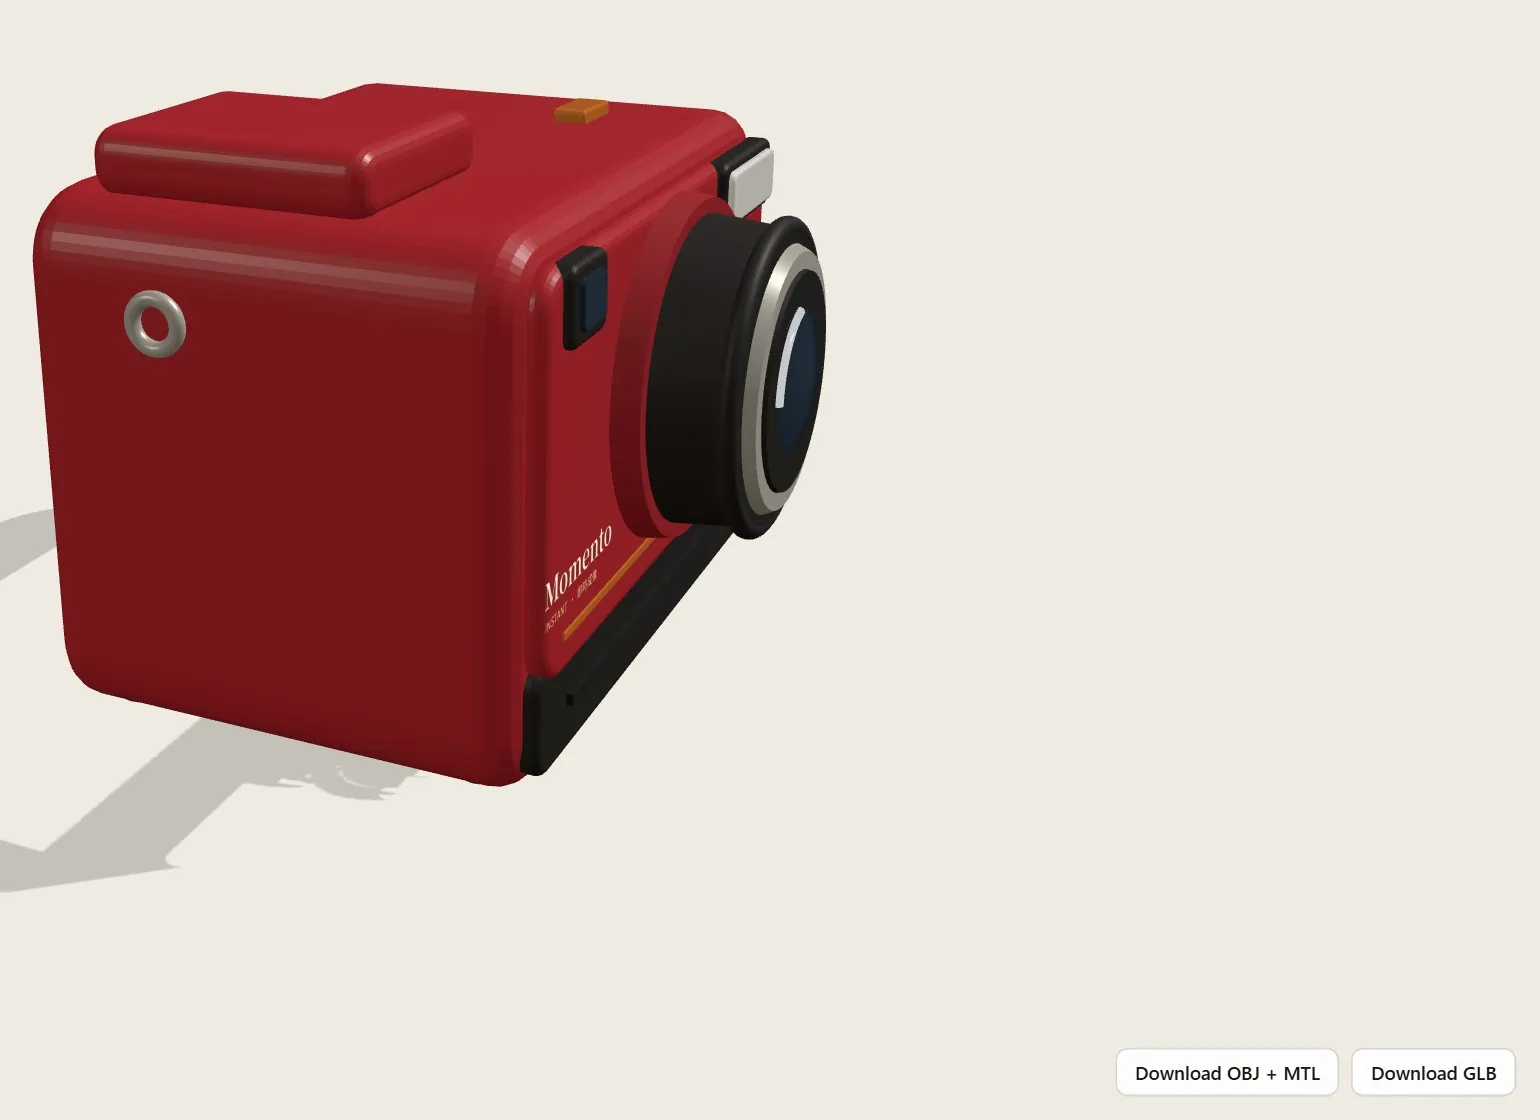
- Blender: use File → Import to bring in the OBJ or glTF (.glb).
- Spline: its docs list OBJ, GLTF and GLB as supported imports.
- Keep the OBJ and MTL in the same folder so the colours come along.
06Going further: let Claude model directly in Blender
If you want to go further, Claude has an official Blender connector. The official tutorial says it reaches your open scene through Blender's Python API, so it can explain node setups, change lots of objects at once and clean up unused data. You don't need to know Python: Claude writes and runs the code from your description.
- Get Blender 4.2 or later (free at blender.org) and Claude Desktop. The tutorial says it doesn't work on claude.ai in a browser, because Blender has to run on the same computer as Claude.
- In Claude Desktop, open Customize → Connectors, search for Blender and click Add.
- Install Blender's MCP Server add-on by following the official tutorial.
- In Blender, go to Edit → Preferences → Add-ons, find BlenderMCP and start the MCP server. You need to do this each time.
- Using the Blender connector in Claude (official tutorial) — Setup steps and examples
07Good to know
- "Momento" is a fictional brand; the camera model, colourways and download buttons were all generated by Claude Design as a demo.
- We made this in October 2026 on claude.ai/design with the 3D object template. Once the site moves into Claude, the interface and names may change.
- AI-made models are great for pitches, concept images and social posts. For 3D printing or manufacturing, still check sizes and structure in a 3D app.
- Don't model someone else's product or logo for commercial use; shapes and logos can be protected.