Make your poster move: 10 motion effects with AI-written HTML + CSS
Line-drawn logos, page flips, floating, typewriter text and more without After Effects: give AI a reference, describe start, middle and end, get HTML + CSS.
Watch the reel on InstagramComment #動態 to get this guide
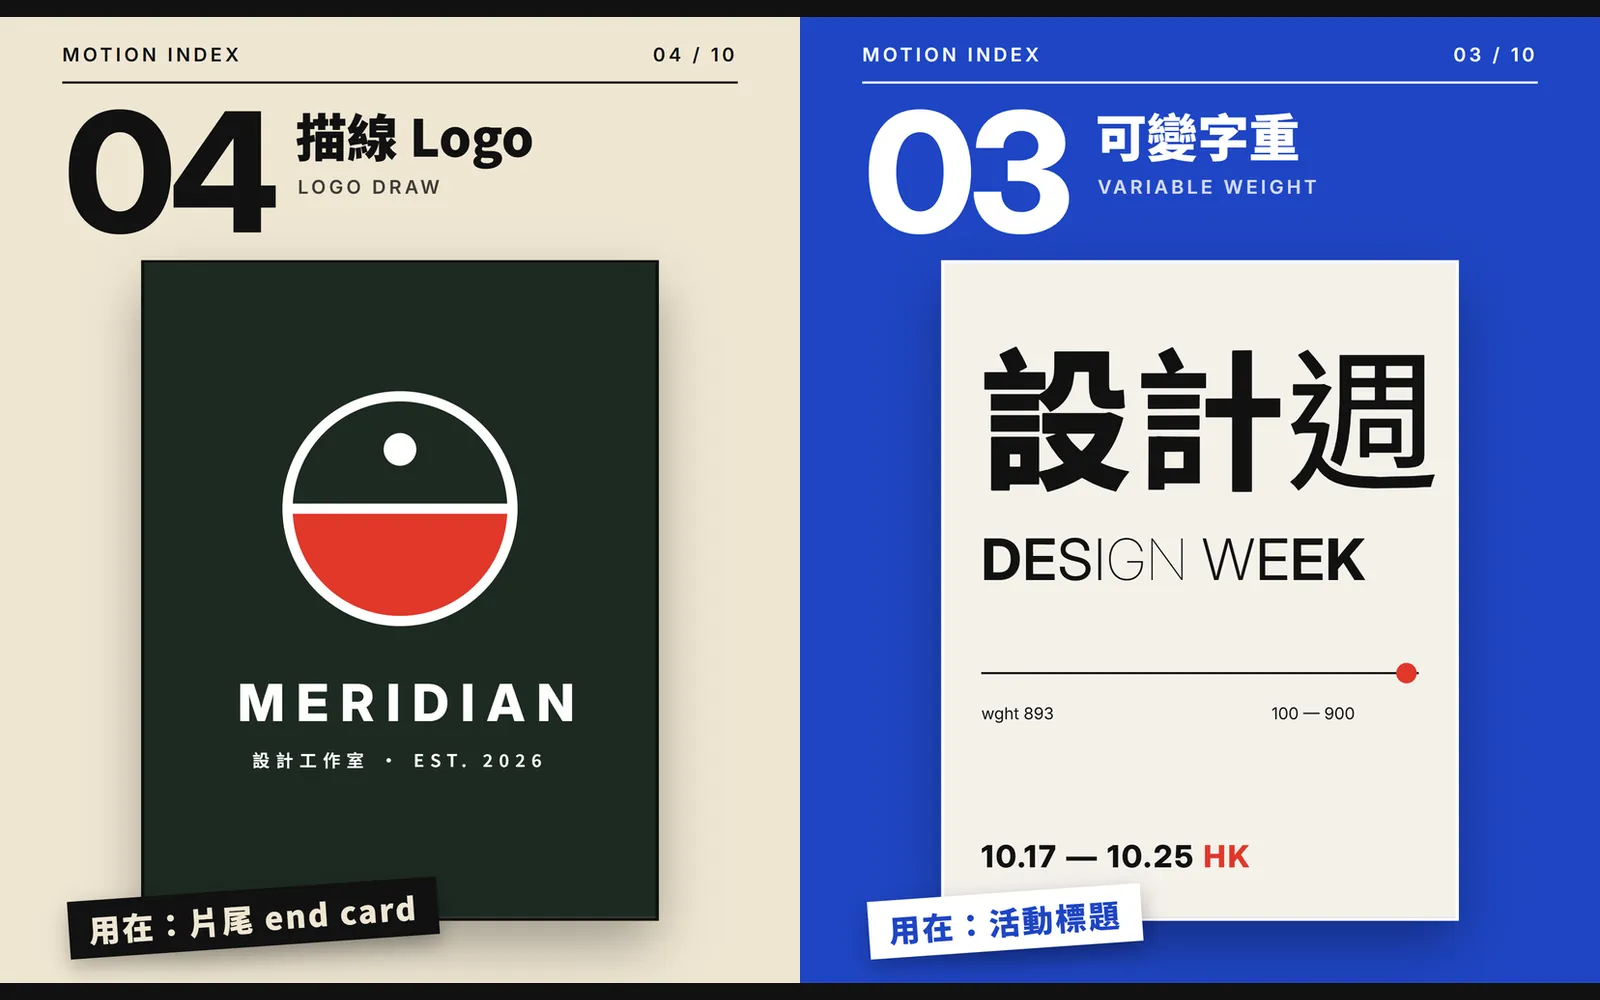
All 10 moving effects in the Reel were written in HTML + CSS. No After Effects. The method is simple: give your static design to AI, explain how you want it to move, and ask it to write the code.
This post covers how to describe an effect, how to fill in the all-purpose prompt, and how to turn the result into a video.
01Why use HTML + CSS for motion
- No software to buy: any browser can play it. One .html file is the finished piece.
- Fast to change: want it slower, or in another color? Change one number.
- AI is good at it: CSS animation is a standard web feature, and AI rarely gets it wrong.
- Reusable: swap the image in the same code and you have a moving version of your next poster.
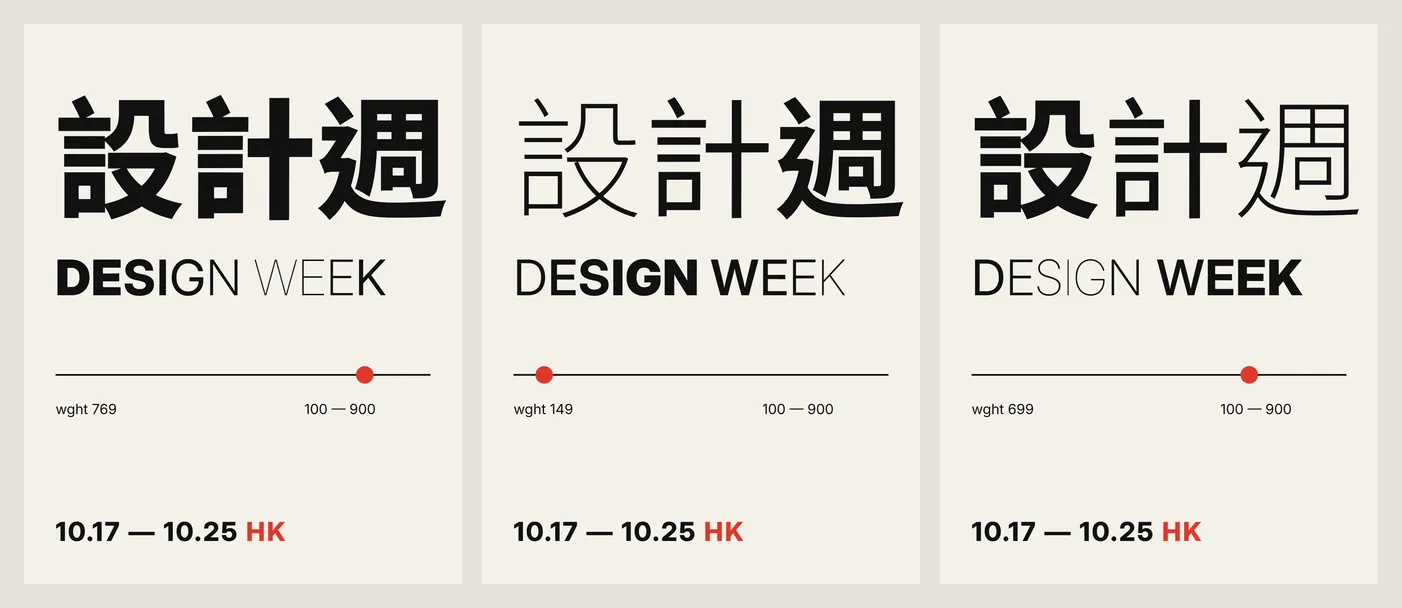
023 steps
- Pick one effect, for example "line-drawn logo" or "page flip". Do one effect at a time. Don't mix them.
- Show AI a reference image (your poster, logo or photo). Then describe three states clearly: the still frame at the start, how it moves in the middle, and where it stops at the end.
- Ask it to write HTML + CSS. If you don't like the result, change one thing at a time ("slower", "change the color to #E8431F") and refine it round by round.
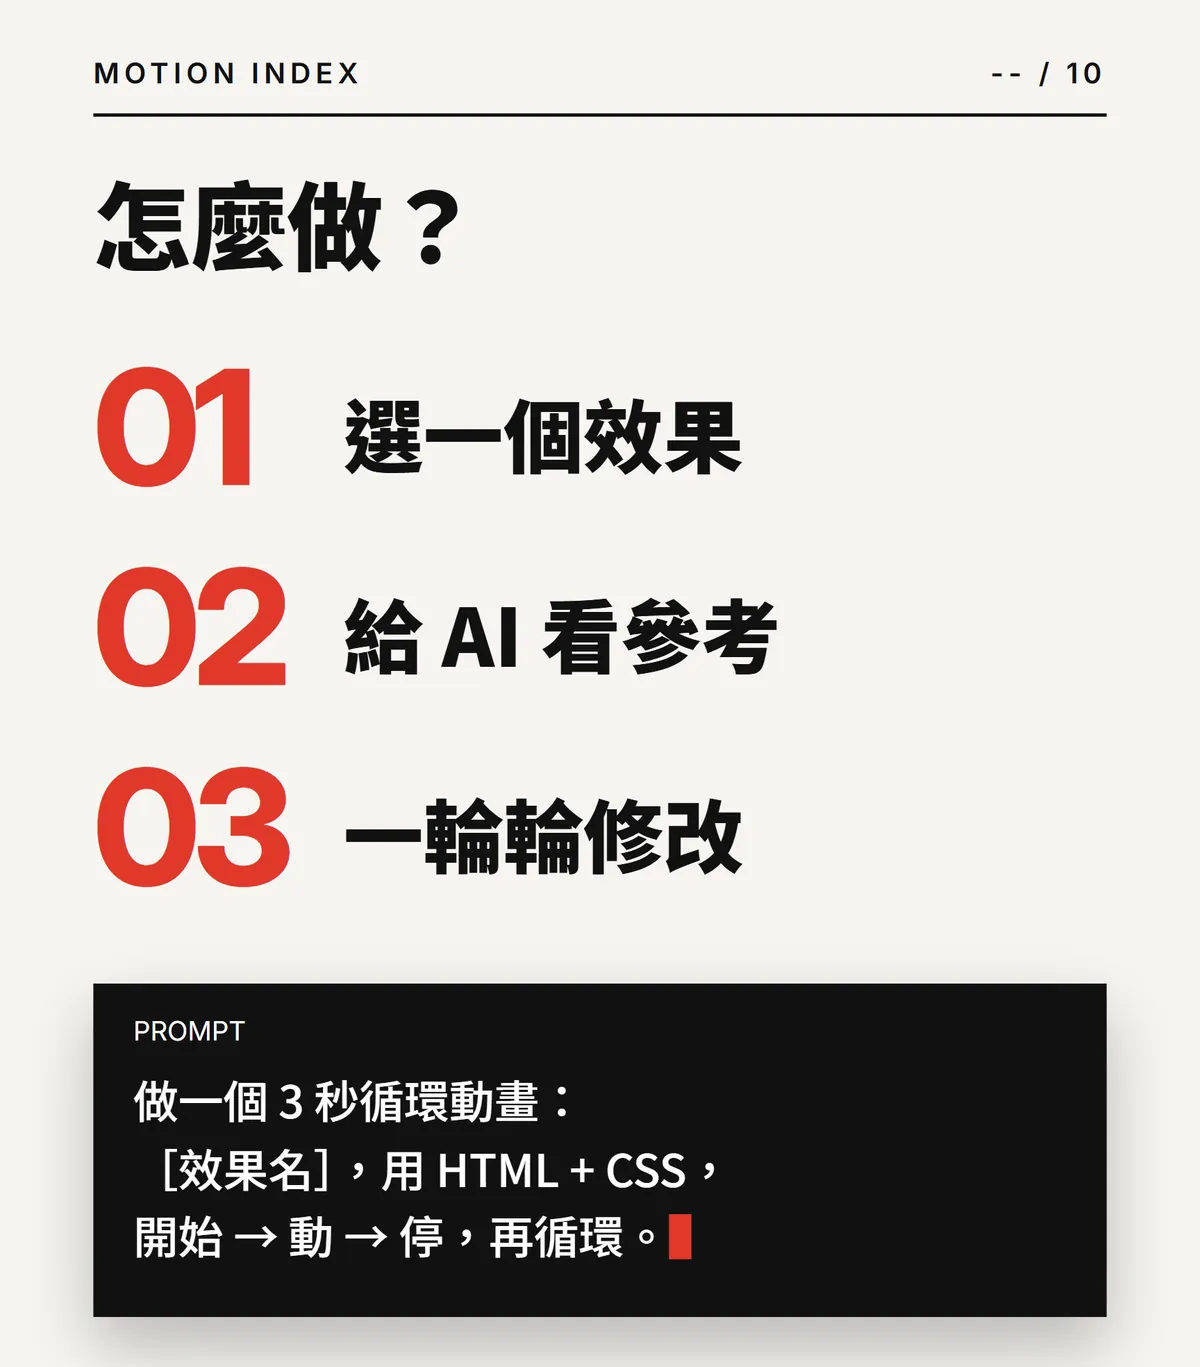
03All-purpose prompt
Replace the parts in [ ] with your own and paste it into ChatGPT or Claude. Attach your image as an upload.
Make a 3-second looping animation with HTML + CSS: [effect name].
Asset: [your poster / logo / photo]
Start: [still frame]
Middle: [how it moves]
End: [where it stops]
Size 1080×1350, no external libraries.
A filled-in example:
Make a 3-second looping animation with HTML + CSS: line-drawn logo.
Asset: the SVG logo I uploaded.
Start: only an off-white background, the logo is not visible.
Middle: the logo's lines are drawn section by section from left to right, like a pen stroke, finishing in 1.8 seconds.
End: when the lines are done, fill the logo with black, hold for 1 second, then fade out and start again.
Size 1080×1350, no external libraries.
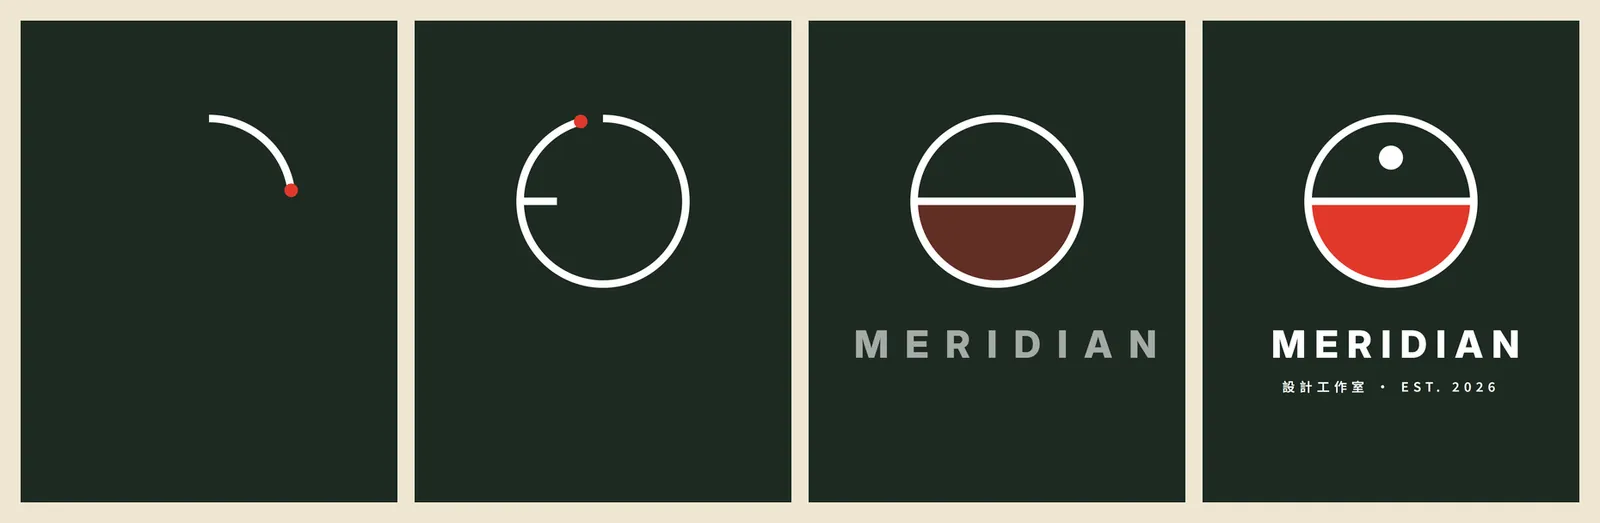
04How to describe the 10 effects
When you describe an effect, AI understands these phrases best:
- Line draw: "the lines are drawn section by section from the starting point" (AI will use SVG stroke-dasharray).
- Page flip: "flips over along the left edge like turning a page in a book, revealing the next page".
- Float: "gently floats up and down by 10 px, like on the surface of water".
- Typewriter: "the text appears one character at a time, then a cursor blinks at the end".
- Zoom in: "scales from 80% to 100% while going from transparent to solid".
- Slide in: "slides in from off-screen on the right and stops in the middle".
- Color block reveal: "a block of color sweeps from left to right, revealing the image where it passes".
- Rotate: "slowly turns clockwise, one full turn every 10 seconds".
- Pulse: "bounces gently every 0.5 seconds, like a heartbeat".
- Gradient flow: "the background gradient slowly moves to the right, so it looks like it is breathing".
05When it's done: record it as a video
- Save the code AI gives you as an .html file and open it in a browser.
- Press F11 for full screen and record 10 to 15 seconds with screen recording (Mac: Shift + Cmd + 5; Windows: Win + G or Win + Alt + R).
- Crop it to 4:5 or 9:16 in your editing app, and you can use it as a Reel or in your portfolio.
- Swap the image in the same code, and that's your next one.