Scroll and the site moves: 3 steps to a scroll-storytelling site with ChatGPT images and Claude code
Apple-style scroll storytelling: ChatGPT makes 5 to 8 images from one camera angle, Claude writes a sticky crossfade section, Netlify Drop hosts it free.
Watch the reel on InstagramComment #滾動 to get this guide
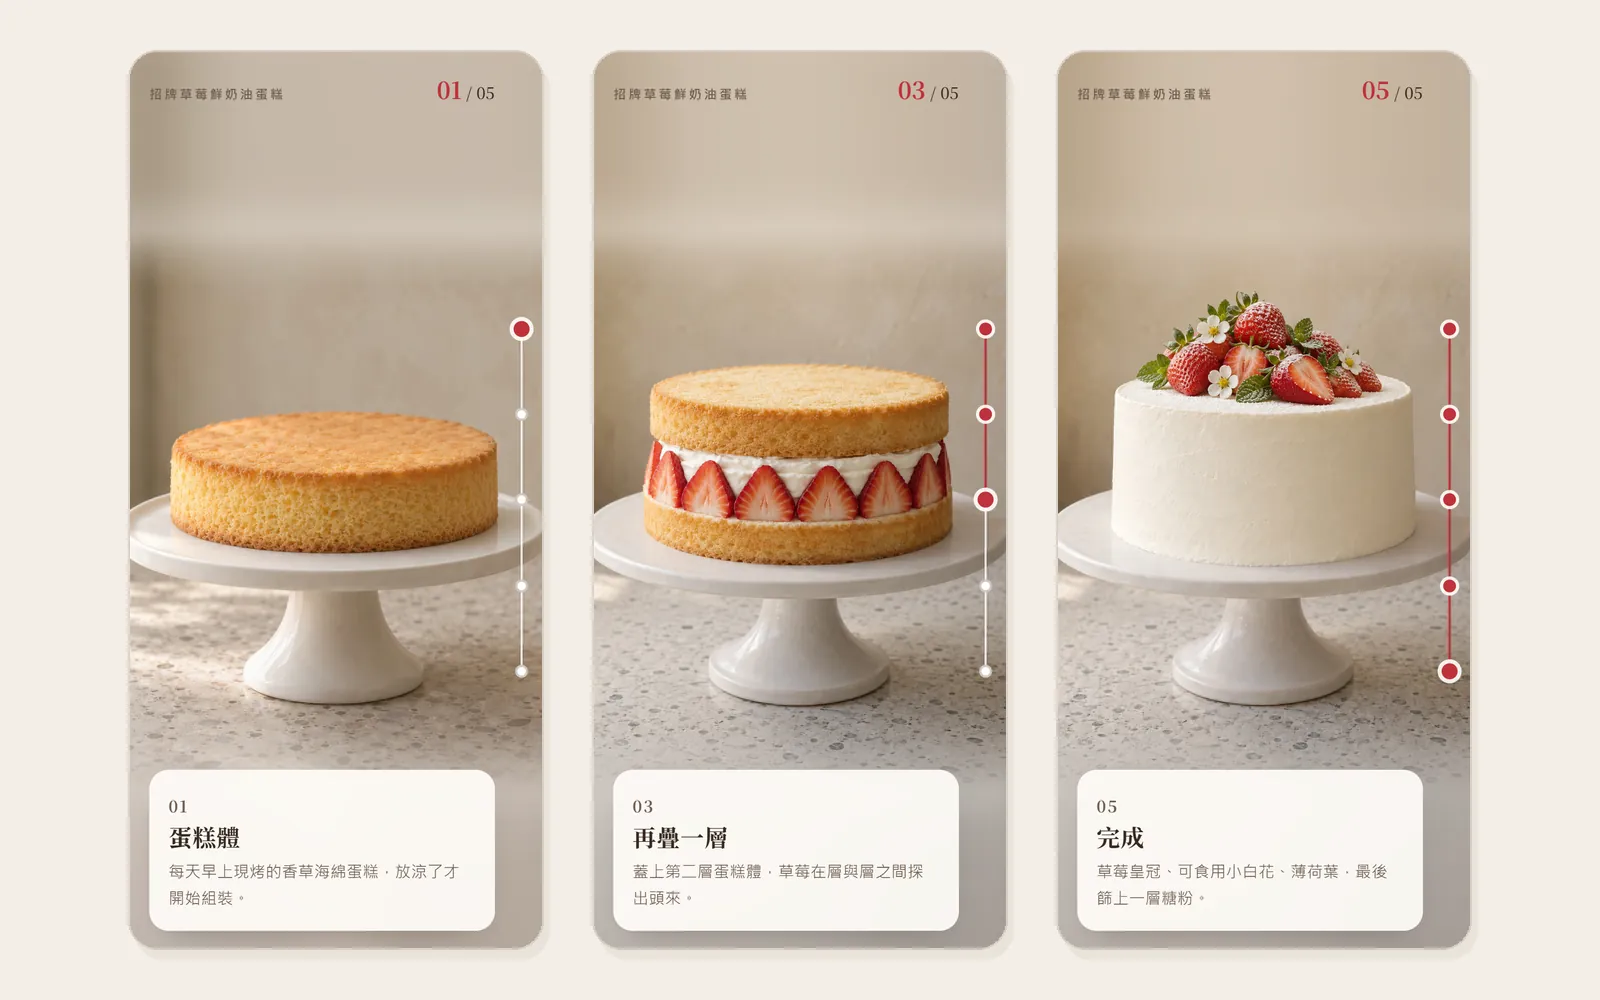
As you scroll, the picture changes frame by frame with you. This is called scroll storytelling. Apple's product pages often do it, but you don't need an engineering team.
The cake shop example in the Reel used ChatGPT for the images, Claude for the web page and Netlify to go live, all in one afternoon. This post has the full 3 steps and both prompts.
01How it works: one camera angle, several images, controlled by scrolling
Scroll storytelling is not a video. It is 5 to 8 images from the same camera angle stacked on top of each other. How far the reader scrolls decides which image shows. The camera never moves and only the content changes, so the picture seems to "grow" under your finger.
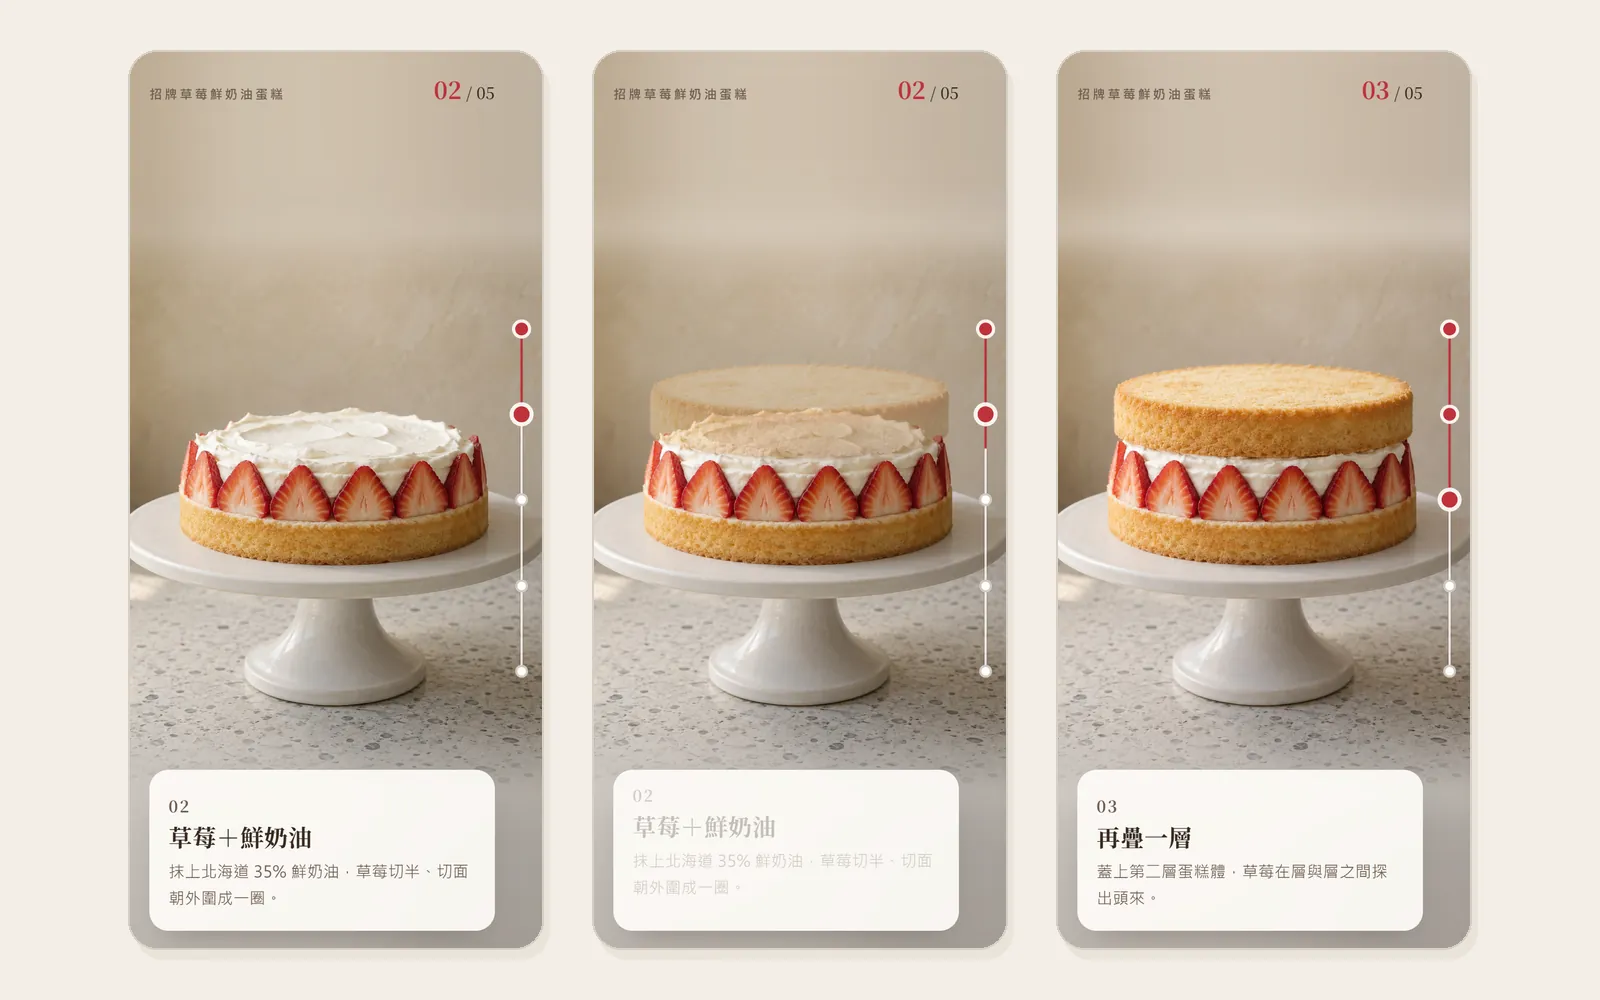
- Images: same composition, same light, only the subject changes (sponge → cream and strawberries → second layer → frosting → decorated).
- Web page: one very tall section. The images inside it stay fixed on screen with sticky, and the scroll position decides which one shows.
- Going live: it's plain HTML, so one folder can go on a free host.
021. Make the images (ChatGPT, same chat)
The most important thing is that the camera angle, composition and light never change. So spell these out for the first image, and for every image after that, only say what to add.
A white cake stand on a terrazzo counter, window light from the left, 1:1
Keep the camera angle, composition and light the same, only add: [X]
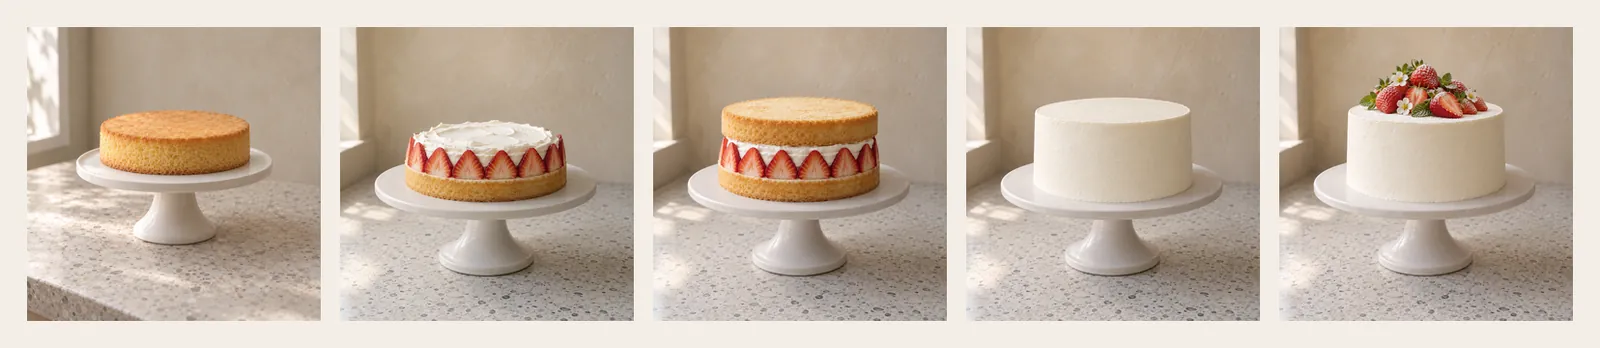
- Make 5 to 8 images, for example the 5 in the Reel: sponge → cream and strawberries → second layer on top → frosting → decorated.
- Download them all and stack them in Photoshop or Figma to compare. If anything shifts, crop to align first, or the switch will jump.
- Convert them to WebP, 1200px wide, each under 200KB. 8 images add up to under 2MB, so phones can load them.
- Name the files in order: stage-1.webp, stage-2.webp ...
032. Write the web page (Claude)
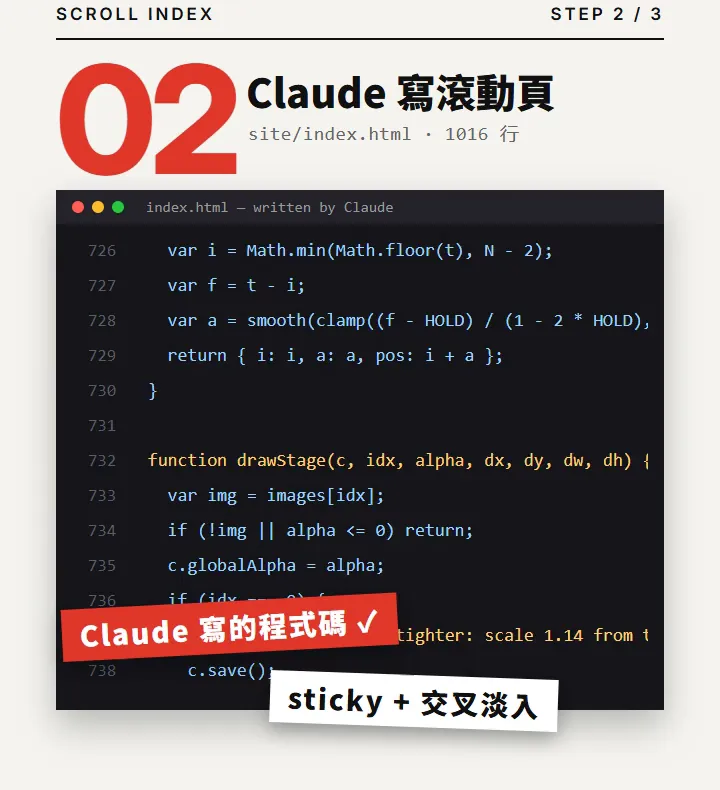
Upload the images to Claude and paste this. Every requirement in it has a reason, so don't delete any.
Write a single-file HTML mobile website. stage-1 to 5.webp are the same camera angle. Make a 500vh sticky section, calculate progress from the scroll position, crossfade the images one by one, don't use time-based animation, preload everything, one line of caption per stage + a progress bar, support prefers-reduced-motion. Below it add: [menu, prices, pickup]
- "500vh": 5 images, each gets one screen height of scrolling. For 8 images, change it to 800vh.
- "Calculate progress from the scroll position, don't use time-based animation": the picture follows your finger and stops when you stop. That is what makes scroll storytelling feel right.
- "Preload everything": switching before an image has loaded makes the screen flash white.
- "Support prefers-reduced-motion": when users turn off animation, show the last image directly, with no switching.
- "Below it add menu, prices, pickup": once the story ends, people need a way to order. Otherwise it's just pretty.
043. Go live (Netlify Drop, free)
- Put index.html and all the .webp files in the same folder.
- Open Netlify Drop and drag the whole folder onto the page.
- A few seconds later you get a link you can share right away.
- For your own domain, sign up for a Netlify account and add a custom domain in the settings.
- Netlify Drop — Drag and drop a folder to go live
05Watch out for
- The images are 90% of the effect. If the composition doesn't line up, it will jump no matter how good the code is.
- On phones, 8 images is the limit. Any more and it will lag.
- Before you use AI-generated food photos on your own shop's site, read the tool's terms of use carefully. For the real launch, we suggest replacing them with your own photos: shoot 5 to 8 from the same tripod position.